Replacing a SIM card is a necessary process when purchasing a new smartphone or switching carriers. While it may look simple, it involves handling precision parts with tiny metal contacts, so failing to follow key precautions can lead to device recognition errors or hardware damage. In short, it is crucial to completely turn off the power, use the dedicated ejector tool, apply force vertically, and avoid touching the metal contacts with your hands.
Simply inserting and removing the SIM card can risk bending the internal slot or damaging the chip. Modern smartphones are designed with high precision for water and dust resistance, meaning even a small mistake can lead to significant damage. This article will guide you through the step-by-step process and how to handle common issues that may arise after replacement.
Why is SIM card replacement so delicate?

A SIM card is a core component containing the unique identification information of a mobile subscriber. The tiny gold metal contacts on the back are very sensitive; even minor scratches, debris, or natural oils from your fingers can cause connection failures. Many users suspect a device defect when the SIM is not recognized, but the cause is often just minor contamination or improper installation.
Furthermore, using sharp tools like paperclips or needles instead of the dedicated ejector tool can damage the internal locking mechanism of the slot. This can lead to physical failure where the tray gets stuck or fails to lock. Therefore, it is safest to use the original SIM tool provided by the manufacturer. If you have lost it, do not force it; visit a nearby store or service center. Since tray structures vary by manufacturer, forced insertion is strictly prohibited. Because slot precision is directly linked to device durability, it is recommended to work in a bright, flat environment.
SIM Card Replacement: A 4-Step Practical Guide

You can safely complete the replacement by following these four steps. The first step is 'Power Off.' Removing the SIM while the power is on can cause temporary data errors or, in rare cases, short-circuit internal components. Always start with the device completely powered down.
The second step is 'Tray Removal.' Insert the SIM tool vertically into the small hole on the side or top of the device and press firmly until the tray pops out. The key is to apply consistent pressure vertically toward the inside of the device, rather than at an angle. The third step is 'SIM Installation.' You will notice one corner of the SIM card is diagonally cut. Align this with the shape of the tray. The final fourth step is 'Tray Insertion and Rebooting.' When sliding the tray back in, it should go in smoothly. If you feel resistance, do not force it; remove it and check if the SIM is seated correctly.
Common Mistakes and Checkpoints
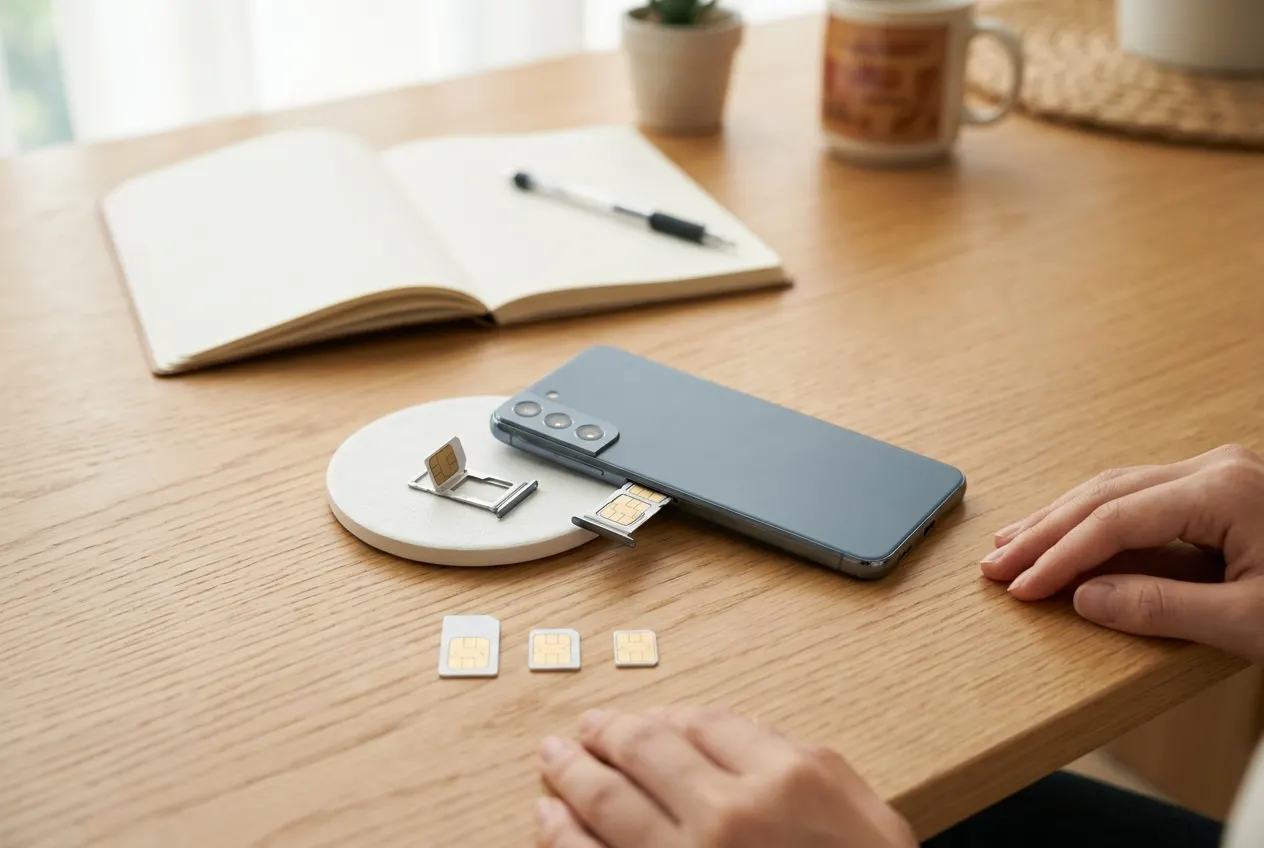
The most frequent mistake is incorrect orientation or forcing the tray into the slot. If you feel resistance, it is almost certain that the SIM is not fully seated or is slightly lifted. Forcing it in risks bending the internal pins. Always visually confirm that the SIM is flush with the tray before insertion.
Also, never attempt to force a SIM card that is the wrong size. While modern smartphones use Nano-SIMs, some older devices may require Micro-SIMs. Forcing an incompatible SIM can break the tray lock or bend internal pins, leading to repair costs. Check your device manual for the correct specifications first. Additionally, if using a SIM adapter, avoid it if possible, as thicker adapters can get stuck inside the slot. It is best to use a standard SIM provided by your carrier.
What if the SIM is not recognized after replacement?
If you see 'No SIM' or 'No Service' despite correct installation, do not panic. Try these solutions in order. First, try 'Airplane Mode.' Turn it on, wait 10 seconds, and turn it off; this often forces the device to re-scan for network signals.
If that fails, try rebooting 2-3 times. Smartphones read SIM information during the boot process, and repeated reboots can help the device successfully retrieve the data. If the problem persists, remove the SIM and gently clean the metal contacts with an eraser. This can remove invisible oxidation or debris. Be careful not to scrub too hard, as it may strip the metal plating. If using an alcohol swab, ensure it is completely dry before re-inserting. If the SIM has been in the slot for a long time, minor corrosion may occur, which can often be resolved by wiping it with a soft cloth.
Essential Precautions to Remember
One common mistake is trying to force a SIM card to fit. Nowadays, many use 'Multi-SIM' formats that combine Mini, Micro, and Nano sizes. Ensure you snap out the correct size for your device. If you snap it out too small, you may need an adapter, which carries the risk of getting stuck inside the slot.
Also, SIM cards are sensitive to heat. Avoid leaving them in hot cars or near humid bathrooms. Static electricity can also damage the IC chip, so it is best to work on an anti-static mat or in a non-dry indoor environment. If signal issues or poor call quality persist after replacement, the SIM itself may be aged, and we recommend getting a new one from your carrier's customer service center.
Finally, SIM replacement involves an authentication process where the device connects to the network. If the device doesn't find a signal immediately, wait about 5 minutes. Patience is better for system stability than frequent reboots. Also, after an OS update or factory reset, SIM recognition may take longer than usual.
SIM Replacement is Easy Once You Know the Essentials
We have summarized the methods and key factors for SIM replacement. Remember the four basic principles: power off, use the original tool, protect the metal contacts, and check the orientation. Avoiding excessive force or incorrect tools will minimize the risk of damage. If you encounter technical issues you cannot solve yourself, seek professional help from a manufacturer's service center rather than attempting to disassemble the device. We hope this guide helps you replace your SIM safely and accurately. Proper SIM management is the most basic and important preventive measure for keeping your smartphone in good condition for a long time.
Frequently Asked Questions
Must I turn off the power when replacing a SIM?
Yes, you must turn off the power. Removing or inserting a SIM while the power is on can cause temporary internal circuit errors or, rarely, a short circuit.
What can I use if I lost the SIM ejector tool?
We recommend using the original tool. Paperclips or needles can damage the inside of the slot; if you don't have the tool, it is safer to visit a nearby store or service center.
Can I use alcohol to clean the SIM?
You can gently wipe it with a soft cloth dampened with a tiny amount of alcohol, but we recommend using a clean eraser to gently remove debris from the contacts.
Does a 'No SIM' error always mean the SIM is broken?
No. It is often just a poor connection or a temporary device error. Try toggling Airplane Mode, rebooting, or re-inserting the SIM first.